First ghqc project
This section walks through a simple end-to-end ghqc workflow. By the end, you will have seen how to:
We will use a small example file, scripts/helper.R, to show what each step looks like in practice.
Before we get to that workflow, we will start ghqc and set up the project configuration.
Starting ghqc
Section titled “Starting ghqc”Use one of the following commands to launch the user interface:
This opens the user interface in a browser tab.
ghqc uiThis opens the user interface in the viewer panel of RStudio or Positron.
ghqc::ghqc()Once the server starts and the user interface opens, you will see an interface similar to the following.
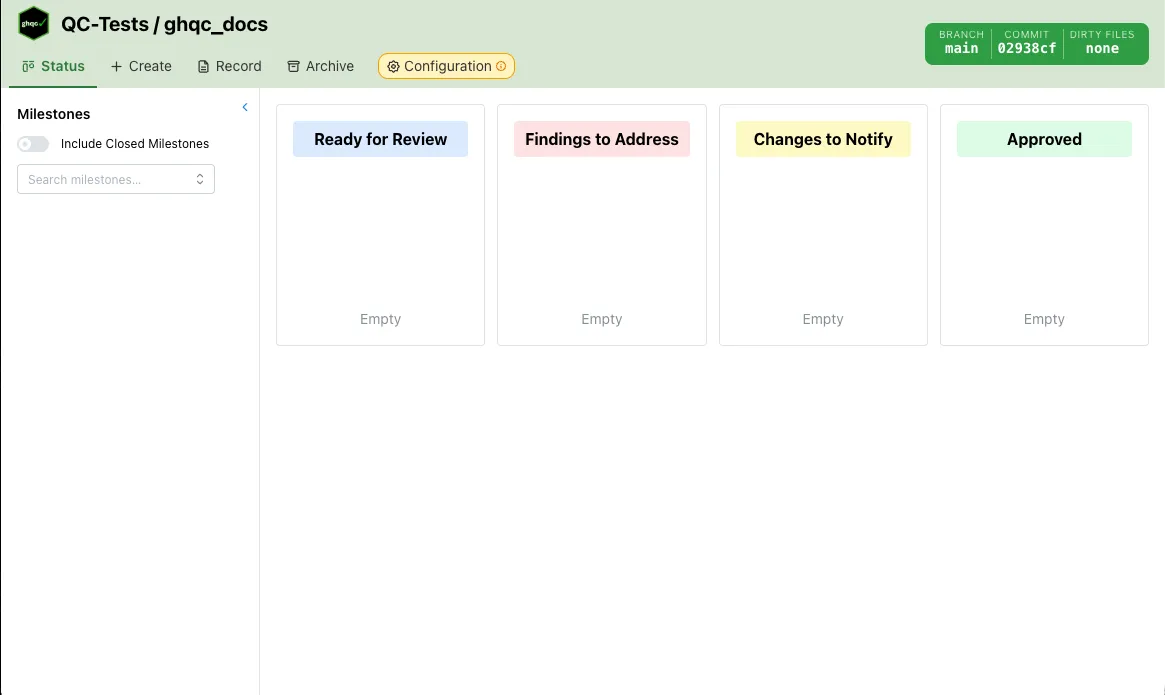
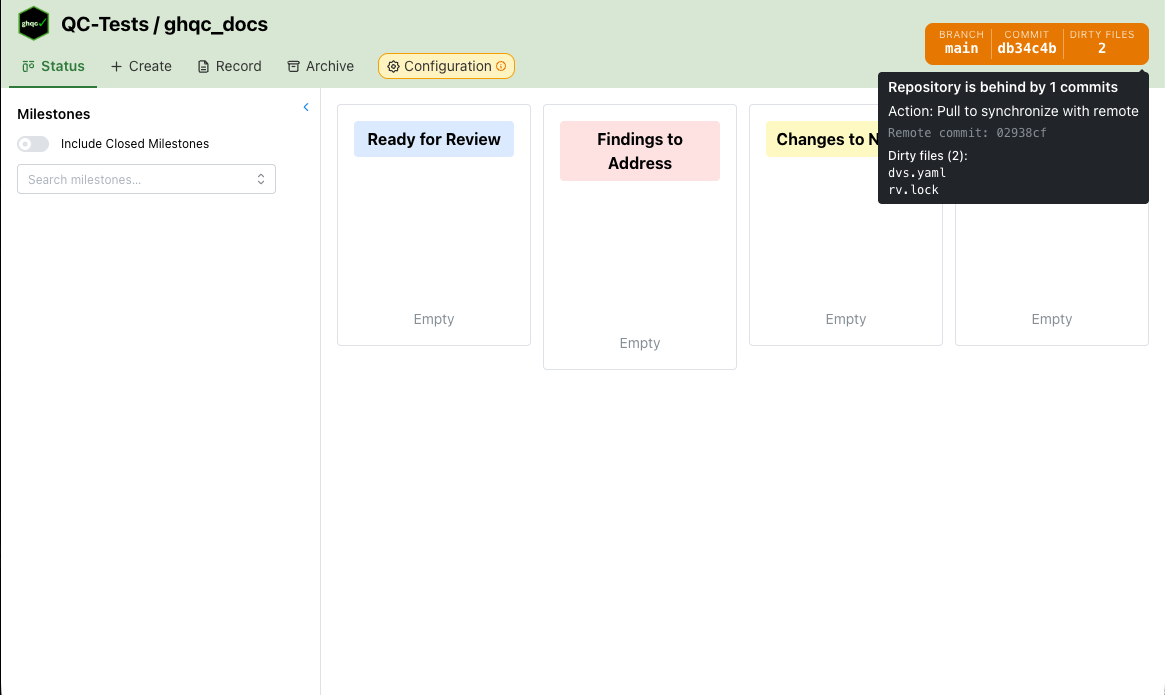
Git Status
Section titled “Git Status”The first feature on this page is the Git status box in the upper-right corner. When the project is up to date with the remote, the status is green. If it is ahead, behind, or diverged, the status changes to yellow or red.
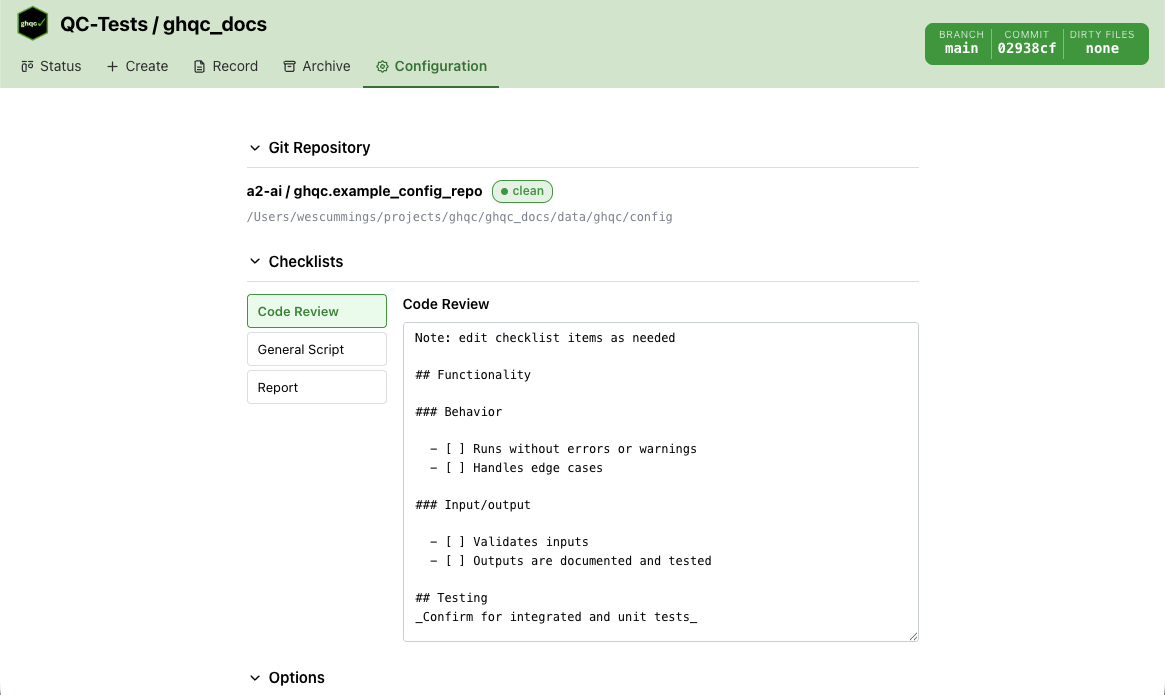
Configuration
Section titled “Configuration”Once the interface is open, the next step is to set up the configuration. To make ghqc flexible across teams, we recommend using a
configuration repository.
To set up the configuration repository for a project, enter your group’s Git repository URL and click Set up. For reference, an example repository is available at
https://github.com/a2-ai/ghqc.example_config_repo.
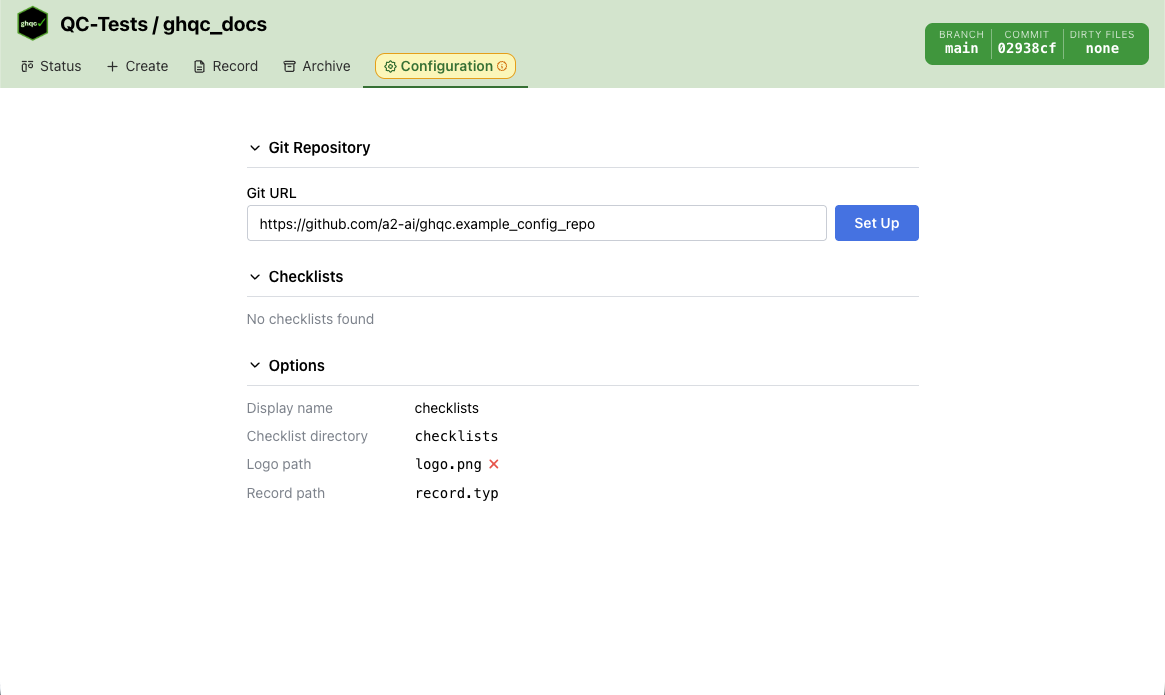
Once the configuration is set up, the Configuration tab displays the checklists and options available for the project.